
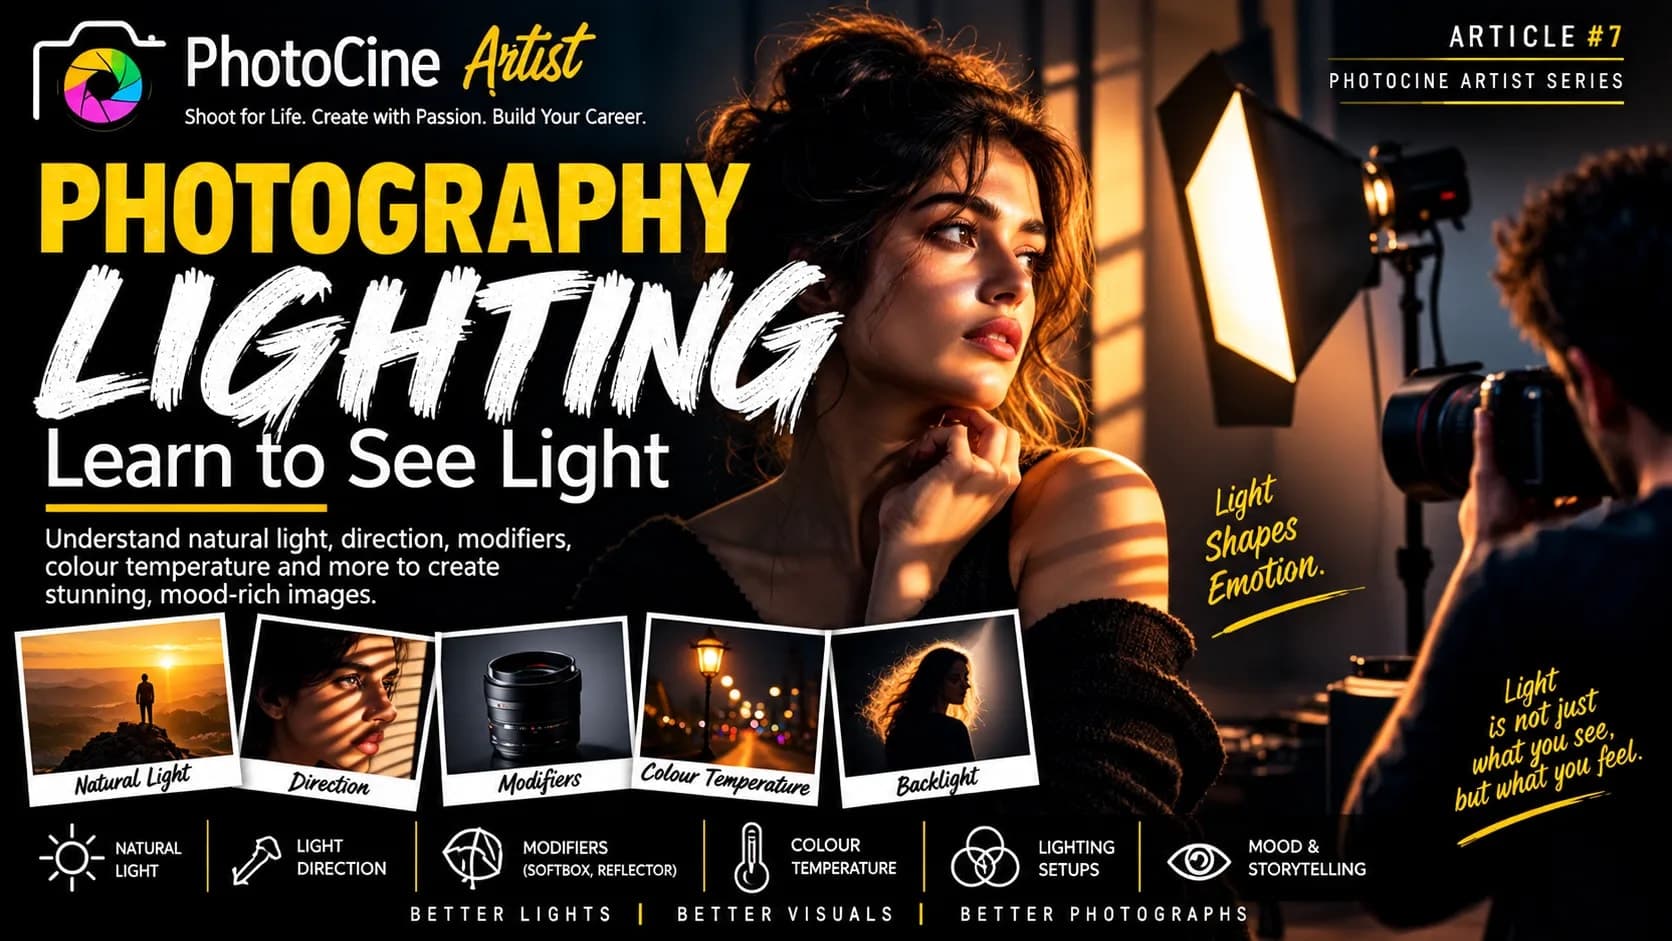
Light Is the Beginning of Every Image
Before the camera, before the lens, before composition and colour, there is light.
Without it, there is no photograph. Yet light is much more than a technical requirement for making an image visible. It creates shape, reveals texture, separates subjects from backgrounds, and gives ordinary objects a sense of life.
Consider a face illuminated by the soft light of a window. The same face photographed beneath a harsh overhead bulb may appear entirely different. One can feel intimate and gentle; the other can feel dramatic, uncomfortable, or mysterious.
The subject has not changed.
The light has changed the story.
This is why a PhotoCine Artist must learn to observe light before learning to control it. The first step is not buying expensive equipment or building a professional studio. It is recognising what light is already doing around you.
Understanding the Character of Light
Light has a personality.
Sometimes it is soft and forgiving. Sometimes it is hard and unforgiving. Sometimes it wraps around a subject, and sometimes it cuts through a scene like a blade.
The size of the light source relative to the subject, its distance, and the way it is diffused all influence how it appears.
Hard light creates distinct shadows and pronounced contrast. Direct midday sunlight is a common example. It can work beautifully for bold portraits, fashion photography, architecture, and dramatic storytelling.
Soft light produces smoother transitions between highlights and shadows. Overcast skies, shaded areas, and light passing through a large diffuser can create this effect. It is often useful for portraits, beauty photography, and products with delicate surfaces.
Neither is automatically better.
Hard light can reveal strength. Soft light can reveal tenderness. The right choice depends on what the image needs to communicate.
Natural Light: Your First Studio
The sun is the world's largest everyday light source, and learning to use it can transform your photography.
Morning and late-afternoon sunlight often provides a warmer appearance and a more manageable direction than the harsh light found around midday. These periods are frequently called the golden hour, although the actual colour and quality of light depend on weather, location, and season.
Window light is another powerful resource.
Place a subject near a window and observe how the light falls across the face. Move the subject closer or farther away. Turn them towards the window, then rotate them slightly to one side. Watch the shadows change.
A plain wall, a window, and a willing subject can become a complete practice setup.
Outdoor shade can also provide beautifully even illumination. However, shade is not always neutral: nearby walls, trees, grass, or coloured surfaces may reflect their colours onto the subject.
The lesson is simple: do not merely search for brighter light. Search for better light.
Direction: Where the Light Comes From
The direction of light influences the shape and mood of an image.
Front lighting falls on the front of the subject. It can reveal detail clearly and reduce visible shadows, though it may make some subjects appear flatter.
Side lighting comes from one side and creates a visible transition between light and shadow. It is particularly useful for revealing facial structure, fabric, food texture, and surface details.
Backlighting comes from behind the subject. It can create glowing edges, silhouettes, atmospheric separation, and beautiful effects in hair, mist, or foliage.
Top lighting comes from above. Depending on its position and softness, it can feel natural, theatrical, or harsh.
Underlighting comes from below and often creates an unusual or unsettling appearance because it reverses familiar shadow patterns.
No direction is universally correct. Each creates a different relationship between the subject and the viewer.
Learn to See Shadows
Beginners often concentrate on where the light falls. Experienced visual artists also pay attention to where it does not.
Shadows create depth. They reveal the direction of illumination and help the viewer understand the shape of an object. They can conceal distractions, add contrast, and introduce mystery.
A face does not need to be illuminated evenly to look beautiful. A product does not need to be bright on every side to appear premium. A cinematic scene does not need to reveal every detail.
Sometimes the shadow is what makes the highlight meaningful.
Instead of trying to eliminate every dark area, ask what that darkness contributes to the frame.
If the shadows distract from the subject, adjust them. If they strengthen the story, preserve them.
The Three-Point Lighting Approach
In controlled portraiture and cinematography, a useful starting point is three-point lighting.
Key light: The principal light source that establishes the main illumination and shape of the subject.
Fill light: A secondary source or reflector used to control the darkness of shadows created by the key light.
Backlight or rim light: A light placed behind the subject to help separate them from the background.
Imagine filming an interview. A soft key light illuminates the person's face, a gentle fill keeps the shadows from becoming too deep, and a backlight creates subtle separation from the background.
The result can feel polished without looking artificial.
Three-point lighting is a framework, not a requirement. Many beautiful scenes use one light, available light, or deliberately unbalanced illumination. Begin with the framework, then adapt it to the scene.
Light Modifiers: Shaping What You Have
A light source does not need to be replaced every time the result looks wrong. Often, it needs to be modified.
A diffuser softens light by spreading it across a larger apparent source.
A reflector redirects existing light into shadowed areas. A white reflector generally provides a softer, more neutral fill, while silver can return stronger light.
A flag blocks light or creates controlled shadows. Black fabric or boards can also absorb unwanted reflected light, increasing contrast.
A softbox spreads light across a diffusing surface, making it useful for portraits, interviews, and product photography.
These tools help you shape light rather than simply add more of it.
Even a plain white board can improve a portrait by bouncing window light back onto the shadowed side of a face.
The creative skill lies in understanding the effect you need before reaching for the equipment.
Colour Temperature and White Balance
Light has colour, even when it appears white to the eye.
Warm indoor bulbs, cool shade, daylight, and mixed lighting environments can all produce different colour casts.
Colour temperature is commonly measured in kelvin. Lower values generally describe warmer-looking light, while higher values describe cooler-looking light.
Your camera's white balance setting helps interpret these colours so that whites and neutral surfaces appear appropriately balanced.
But creative work does not always require neutral colour.
Warm light may support an intimate scene. Cooler light may help communicate isolation or tension. Contrasting warm and cool sources can create visual separation between a subject and their surroundings.
The important thing is consistency of intention. Uncontrolled colour casts can distract viewers, while deliberate colour choices can strengthen the mood.
Lighting for Different Subjects
The same lighting setup does not work equally well for every subject.
Portrait photography: Soft directional light can reveal facial shape while maintaining gentle transitions in the skin.
Product photography: The placement and size of light sources influence reflections, surface texture, and the way materials appear. Glossy objects often require careful reflection control.
Food photography: Side or backlight can reveal steam, texture, and translucency, helping food look dimensional rather than flat.
Fashion photography: Lighting may be soft and flattering, bold and contrasty, or deliberately unusual to support the styling and concept.
Landscape photography: The photographer often works with the light available, choosing a time and position that reveal the landscape's shape, atmosphere, and colour.
Cinematography: Light also guides the viewer's attention across a sequence. It can suggest time of day, distinguish locations, reveal character, and maintain continuity between shots.
Different subjects require different approaches, but the underlying questions remain similar: What needs to be visible? What should remain in shadow? What mood should the viewer experience?
Low-Key and High-Key Lighting
Two broad lighting approaches can produce very different visual experiences.
Low-key lighting uses darker tones, controlled highlights, and often pronounced contrast. It is common in dramatic portraits, thrillers, moody product photography, and scenes that benefit from mystery.
High-key lighting creates a predominantly bright appearance with comparatively gentle shadows and lower overall contrast. It is frequently used in clean commercial imagery, beauty work, and cheerful or open visual styles.
These terms describe the overall lighting character, not simply whether the exposure is dark or bright.
A low-key image can contain bright highlights, and a high-key image can still have carefully shaped shadows.
The aim is to create a consistent visual atmosphere that supports the subject.
Lighting Is Problem-Solving
A common misconception is that professional lighting depends on owning more lights.
In reality, it depends on recognising problems and understanding how to solve them.
Is the face too flat? Change the light's direction.
Are the shadows too dark? Introduce fill or use a reflector.
Is the background distracting? Adjust the subject's position, the lighting ratio, or the background illumination.
Are reflections ruining the product? Change the size, position, or diffusion of the light source.
Does the scene feel artificial? Observe the natural sources that would plausibly illuminate it, and build your setup around them.
Each adjustment should have a purpose. Adding equipment without understanding the problem often makes the setup more complicated without making the image better.
Practise Without an Expensive Setup
You can begin learning lighting today with the resources already around you.
Choose a simple subject, such as a cup, a book, or a portrait of a friend. Place it near a window and take photographs as the light falls from the front, side, and back.
Next, use a white sheet or reflector to soften the shadows. Try the same scene with the curtains partly closed. Observe how the direction, softness, and intensity change.
Then repeat the exercise outdoors in direct sunlight and in open shade.
Compare the results. Do not look only at brightness. Study the shadows, background, skin texture, reflections, and emotional character.
Keep notes about what you changed and what happened.
This exercise trains something more valuable than the ability to reproduce a lighting diagram: it trains your eye to recognise cause and effect.
When Light Becomes Visual Language
Eventually, you begin to notice light before you even think about taking a photograph.
You see sunlight crossing a wall and imagine a portrait. You notice the glow of a shop window against a dark street. You recognise the shape of a shadow before you recognise the object creating it.
Light stops being merely something you need for the camera.
It becomes something you can use to express an idea.
You begin to ask not only whether a subject is visible, but whether it should feel warm, isolated, powerful, delicate, mysterious, or calm.
That is when lighting moves beyond technique.
It becomes visual storytelling.
Learn to control light, but first learn to observe it; because a PhotoCine Artist does not simply illuminate a subject—they shape the mood, reveal the meaning, and give the story its soul.
Shoot for Life. Create with Passion. Build Your Career.
Welcome to PhotoCine Artist—where we learn not just to capture what light reveals, but to create with what light makes us feel.